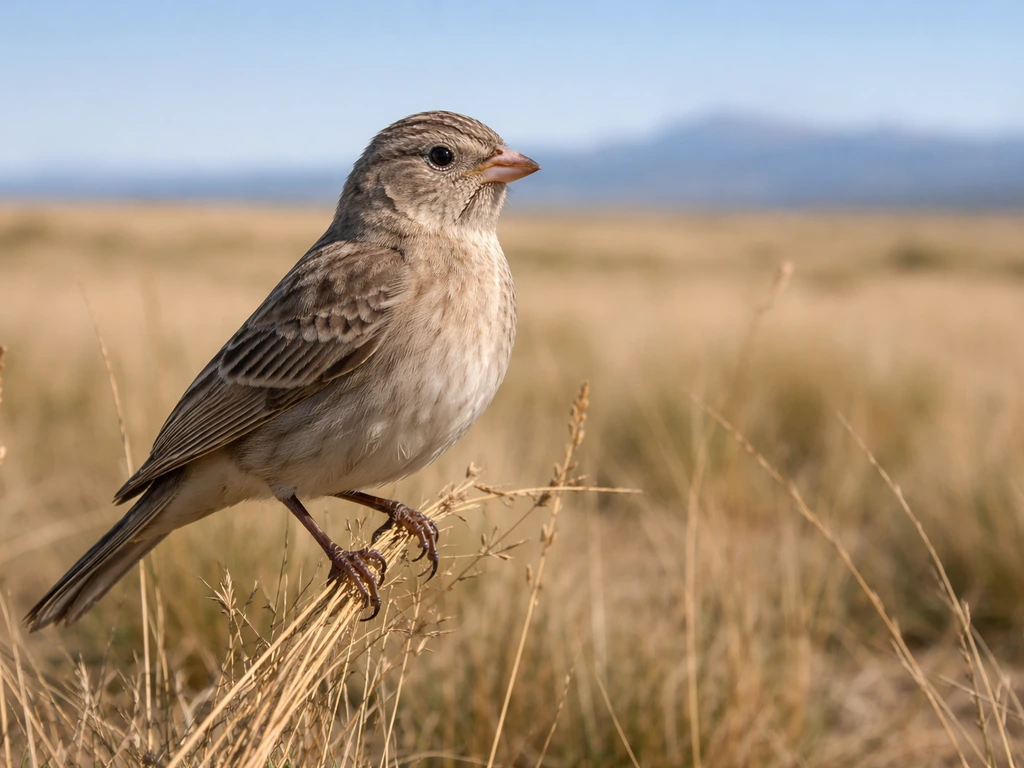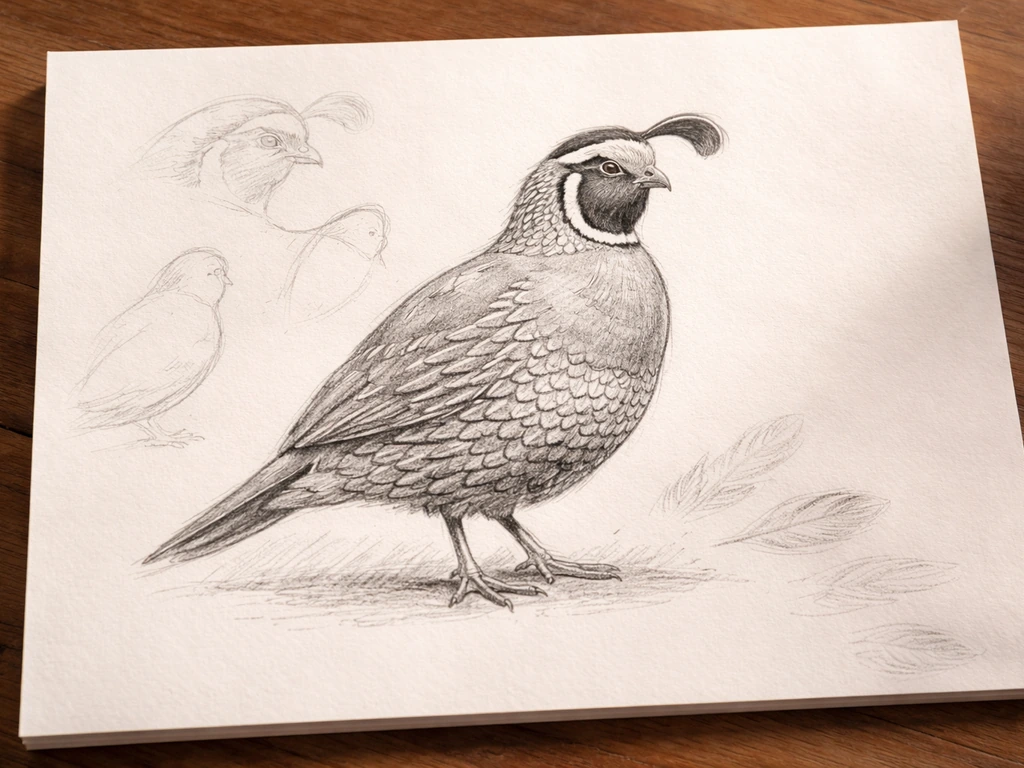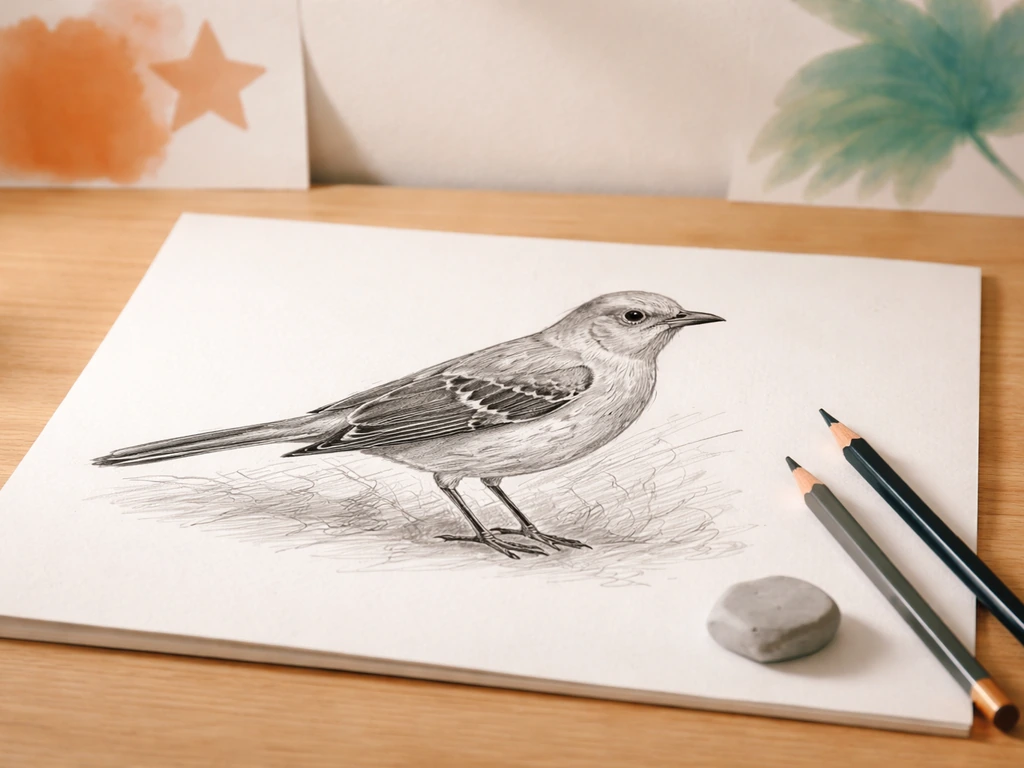
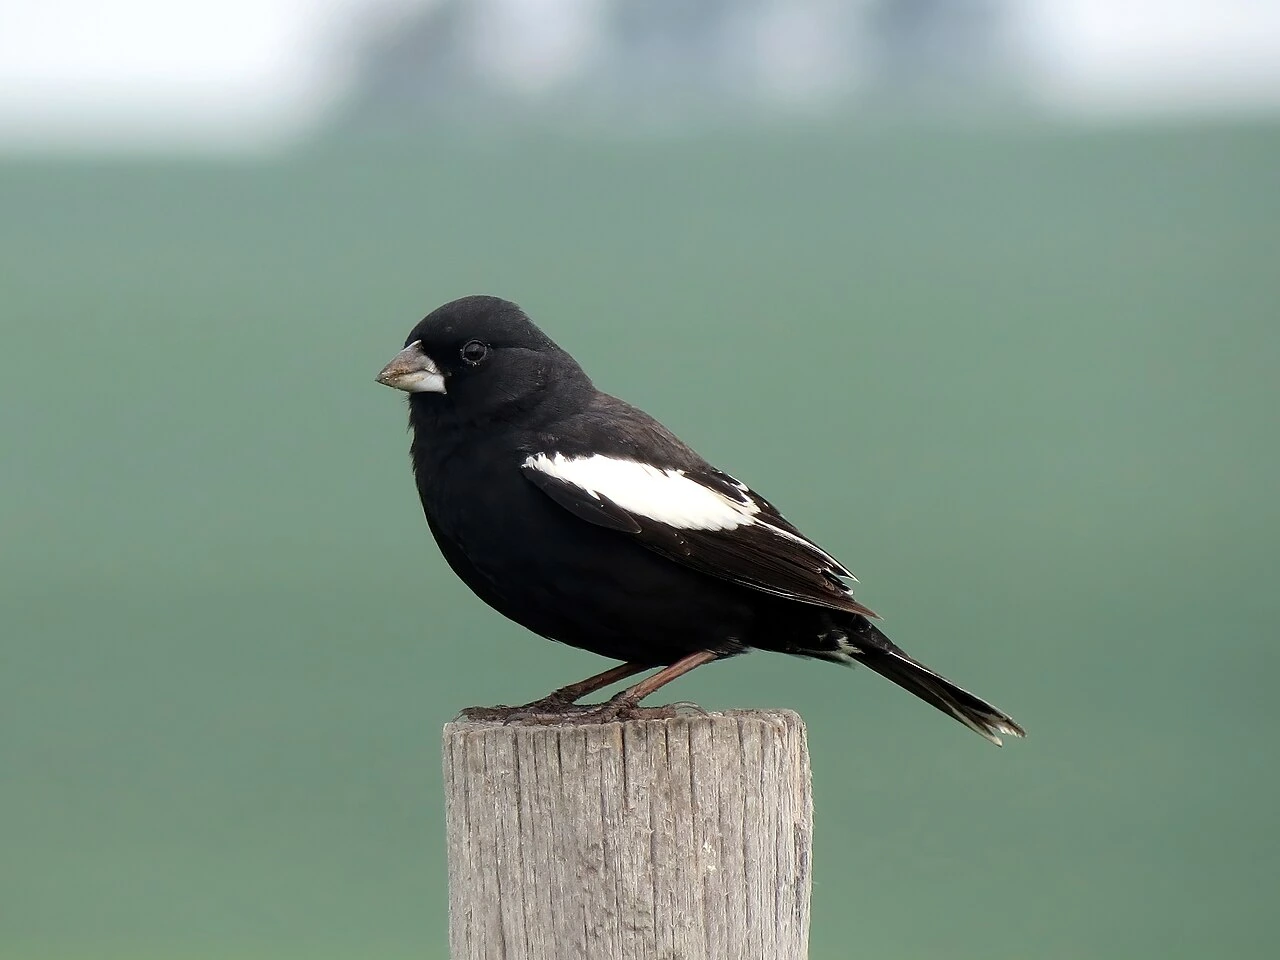
Colorado's state bird is the lark bunting (Calamospiza melanocorys), and if you're drawing the breeding male, you're working with one of the most striking songbirds on the Great Plains: a velvety black body with a bold snow-white wing patch. That contrast is the signature you need to nail. Get the chunky silhouette, the oversized conical bill, and that white wing patch right, and your drawing will be instantly recognizable.
How to Draw the Colorado State Bird Step by Step

Marcus Webb
27 May 2026
First, confirm what you're drawing
The lark bunting became Colorado's official state bird on April 29, 1931, when the Colorado State Legislature passed Senate Bill No. 251. It's the only official state bird unique to Colorado, and no other U.S. state claims it. So when you sit down to draw "the Colorado state bird," you're drawing this bird specifically, not a robin or a meadowlark. That matters because the lark bunting has a very specific look that differs from common sparrows and finches, and getting that look right is the whole point of this guide.
Quick visual cues before you pick up a pencil
Before sketching a single line, internalize these five structural cues. They're what separate a lark bunting drawing from a generic sparrow doodle.
- Body shape: Think "heavyset sparrow." The lark bunting is chunky and compact, roughly 6 to 7 inches long, with a short tail relative to its body. If your bird looks long and slender, pull it back.
- Bill: Very large and conical, with a pale blue-gray color. This is not a delicate finch bill. It should look almost too big for the head, which is accurate.
- Wing patch: The most iconic feature. On breeding males, the wing coverts are snow-white, forming a long, bold patch along the folded wing. On females and winter birds, this patch is smaller and buffy-white but still visible.
- Plumage (male): Velvety black overall with white wing patches and white edges along the innermost flight feathers (tertials). No streaking, no brown, just black and white.
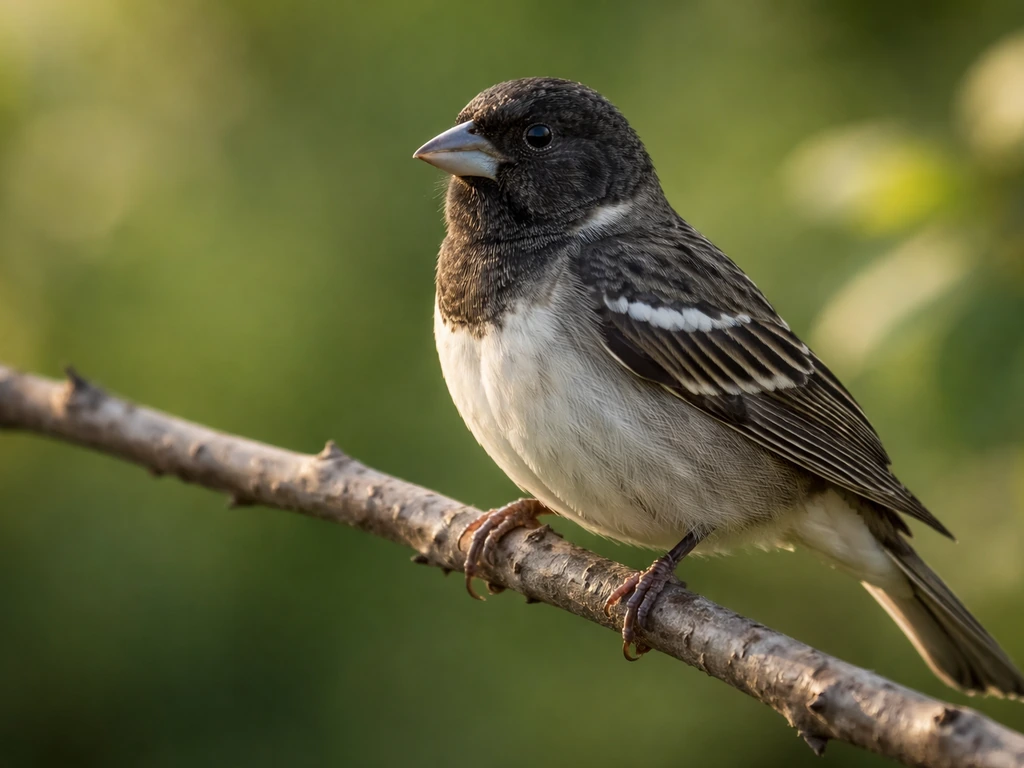
- Plumage (female/winter): Streaky brown and buff, like a typical sparrow, but still chunky with that same thick pale bill and a muted wing patch. The bill and body shape are your ID anchors when color isn't the giveaway.
The bird is roughly 6 to 7 inches in length with a wingspan of about 9. Birds Bulletin lists the lark bunting at about 6 to 7 inches long and with a wingspan around 9.5 to 11 inches, which can help you check proportions when drawing to scale roughly 6 to 7 inches in length with a wingspan of about 9. 5 to 11 inches. On paper, a good perched pose tends to come out around 3 to 4 inches tall depending on your scale. Keep the head-to-body ratio in mind: the head is large relative to the short tail.
Set up your materials and reference before you start
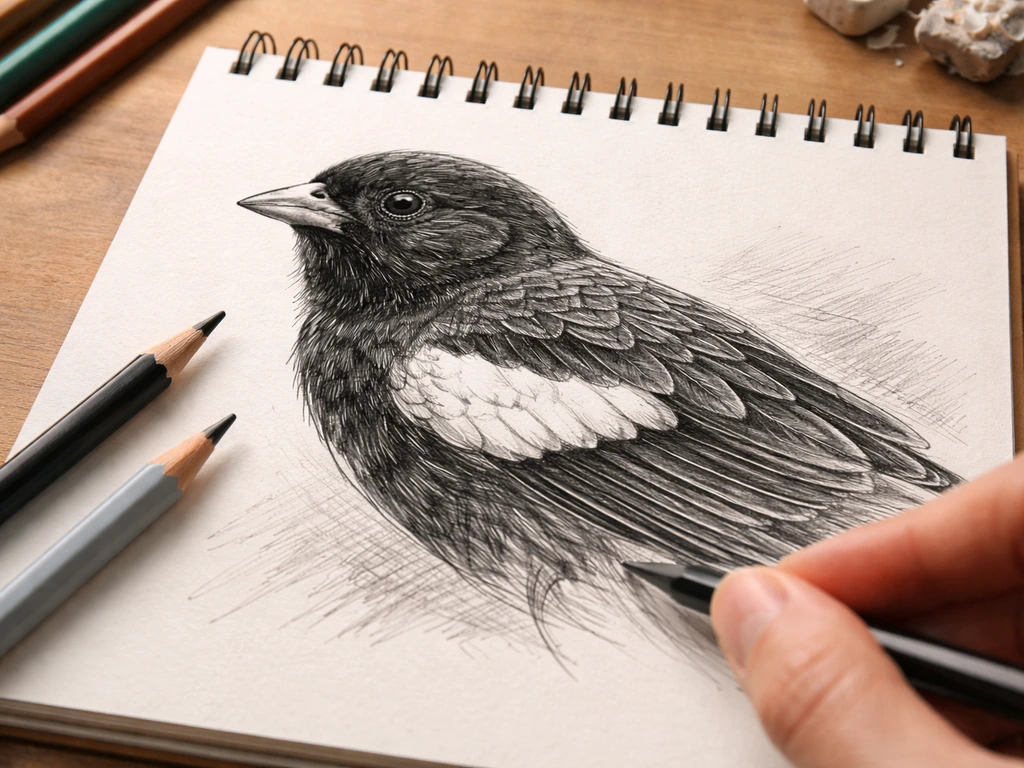
You don't need expensive tools to get a solid result. Here's a practical setup that works for beginners.
Materials
- Pencils: HB and 2B for sketching, 4B or 6B for deep blacks on the male's body
- Colored pencils (optional but recommended for the male): black, white, and blue-gray for the bill; buff and raw umber for female plumage
- Smooth drawing paper or Bristol board (tooth holds colored pencil well)
- A kneaded eraser for lifting highlights and softening lines
- A fine-tip mechanical pencil for feather edge detail
Reference setup
Pull up a high-quality photo of a lark bunting in a perched, side-profile pose. Cornell Lab's All About Birds database and the Audubon Field Guide both have excellent reference images. Print or display the image at a size you can work from comfortably. If you're nervous about proportions, use the grid method: draw a 4x4 or 5x5 grid over your reference photo (or use a free tool like GridMyPic to do it digitally), then draw the same grid lightly on your paper. Copy the contents of each square one at a time. This takes one to three hours depending on how much detail you're adding, but it's the single best way to train your eye for bird proportions as a beginner.
Step-by-step: from basic shapes to finished sketch
- Block in the overall silhouette first. Draw a large oval for the body, slightly tilted (the front edge higher), and a smaller circle overlapping it at the upper front for the head. The body oval should be noticeably rounder and wider than you'd draw for a slim warbler or swallow. Keep it compact.
- Add the tail. Lark buntings have a short tail, so don't extend it far beyond the body oval. Draw two short parallel lines dropping down and slightly fanning at the tip. If your tail looks long, trim it back.
- Place the bill. From the front-center of the head circle, draw a thick triangular wedge pointing forward and slightly downward. The bill should look substantial, almost oversized. This is your first major accuracy checkpoint: if the bill looks small or delicate, widen it at the base.
- Sketch the legs and perch. For a standard perched pose, add two thin legs dropping from the lower body, with simple feet gripping a branch or stem. Keep legs short to reinforce the chunky feel.
- Outline the wing along the body. Trace the folded wing shape along the lower half of the body oval. Then, mark the wing patch location clearly: a long horizontal band running from near the shoulder down toward the tail along the wing's upper edge. This patch is your second major accuracy checkpoint.
- Refine the head and eye. Clean up the head circle into a slightly flattened oval shape. Place the eye slightly forward and above center on the head. Add a small circle for the eye, and plan for a tiny white highlight dot.
- Erase your construction circles and check your proportions. Step back and look at the overall silhouette. Chunky body? Short tail? Big bill? Bold wing patch placement? If all four read correctly, you have a recognizable lark bunting outline before any detail work begins.
Adding feather texture and color accurately
For the breeding male (black and white)
Start with a light base layer of pencil across the entire black area of the body, using your HB pencil in short strokes that follow the direction feathers grow: generally downward and slightly backward from head to tail, forward-to-back along the wings. This gives you a feather-direction habit from the start. Then switch to your 4B or 6B pencil and begin building up density, darkening the deep black of the breast, head, and back. Leave the wing patch area completely untouched (or erase it clean). The contrast between deep black and bright white is the whole visual drama of this bird, so resist the temptation to shade the wing patch at all.
Once you have good coverage in the black areas, use a sharp pencil or fine-tip pen to add subtle feather edge lines: thin curved strokes along the wing and upper back where individual feathers overlap like scales. Keep your pencil sharp throughout. The white edges along the innermost flight feathers (tertials) can be added with a white colored pencil or white gel pen, drawing a thin bright line along the lower edge of each tertial feather group.
For the bill, use a blue-gray colored pencil (or mix cool gray with a touch of blue) and leave the upper ridge slightly lighter. Add a thin dark line along the bill's cutting edge and at the tip. The pale blue-gray of the bill is subtle but important for accuracy.
For the female or winter bird (streaky brown)
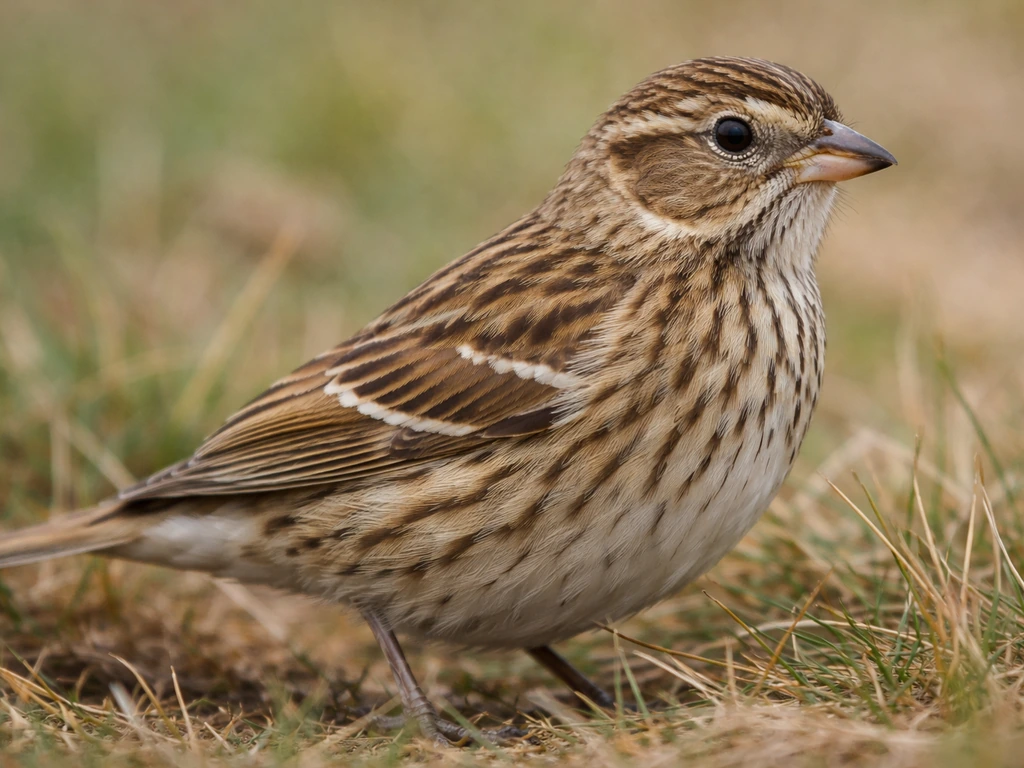
Lay down a buff or raw sienna base across the entire body, again using feather-direction strokes. Then add thin dark brown streaks on the back and breast, following the same directional stroke pattern. Streaks run from top to bottom on the breast, parallel to the body axis. The wing patch on females is buffy-white rather than bright white, so you can apply a light buff layer and leave it slightly lighter than the surrounding wing feathers rather than leaving it stark white. The bill color and shape remain the same as the male, which is a key ID anchor for your drawing and for real-world identification.
Feather rendering tips
- Always stroke in the direction feathers grow, and change stroke direction as you move from one feather group to another (back vs. wing vs. breast).
- Build color in layers: light base layer first, mid-tones second, darkest values and sharpest edges last.
- Burnishing (pressing hard with a colored pencil to blend and smooth) works well for the glossy black areas of the male, but do it only after you've built up enough color layers, because it's difficult to add more detail on top of a burnished surface.
- Plan your highlights before you start: the eye highlight (tiny white dot, upper quadrant of the eye), the bill's upper ridge, and any sheen on the black feathers should all be reserved or reclaimed with a kneaded eraser early.
Finishing touches and how to keep improving
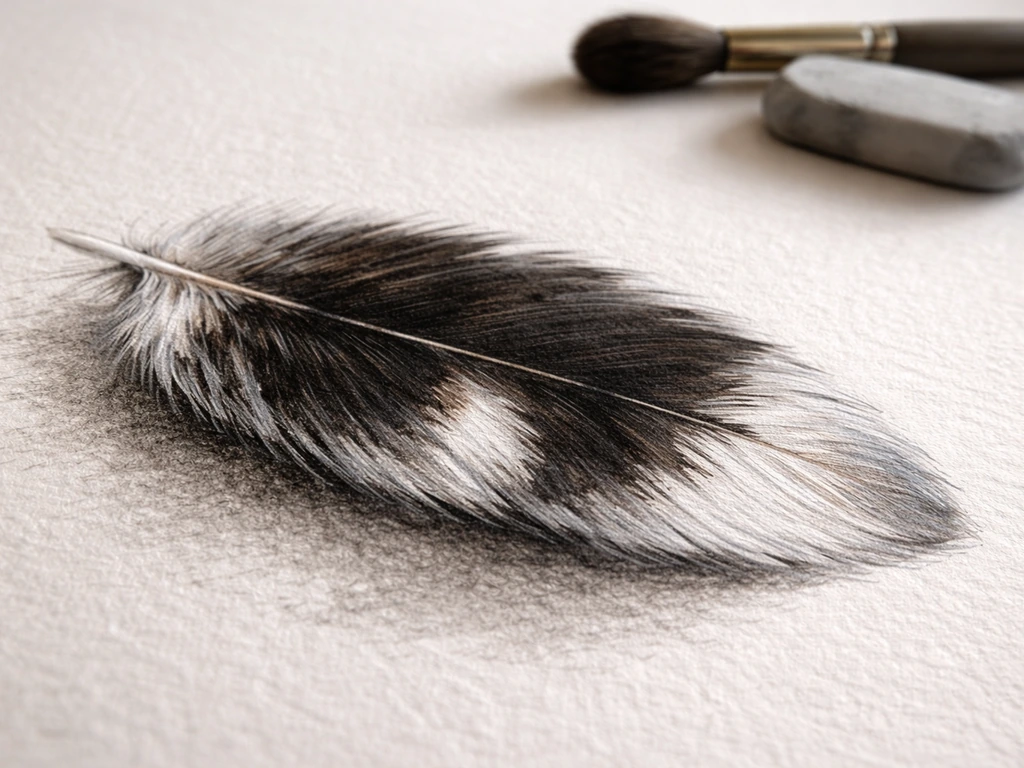
Once your main drawing is done, step back and run through this quick checklist. Is the body shape chunky and compact, not slim? Is the tail short? Is the bill large and pale blue-gray? Is the wing patch bold and long (on the male) or subtly lighter (on female)? If you can check all four, you have an accurate lark bunting.
For finishing details, darken the shadow under the belly and beneath the wing, add a thin cast shadow under the feet on the perch, and make sure the eye has that small white highlight dot in the upper portion. These small touches push a competent sketch into a polished illustration.
Practice variations to build your skills
- Try a three-quarter front view: the bird turns slightly toward you, which means the bill is foreshortened and the wing patch wraps around the body edge. This is harder but great practice for understanding the bird's volume.
- Draw the female version after mastering the male: switching from bold graphic black-and-white to subtle streaky brown is a good challenge in value control and stroke texture.
- Sketch the bird in flight: the wing patch becomes even more dramatic when the wings are spread, and the short tail is clearly visible. Use a reference photo with wings open.
- Try a quick silhouette-only version in black ink. If the silhouette alone reads as a chunky, short-tailed, big-billed sparrow, your proportions are solid.
Why Colorado chose this bird, and which look-alikes to avoid
The lark bunting was chosen in 1931 through a process that involved Colorado schoolchildren, and Colorado's lawmakers were drawn to the bird's unique flight pattern, songs, and lifestyle on the open plains. It's sometimes called the "troubadour of the plains" for its aerial singing displays, which are genuinely spectacular. The lark bunting is also the only bird that is both a Colorado state symbol and not shared as a state bird by any other state, which makes it a fitting choice for a unique symbol.
If you're worried about drawing the wrong bird, the two most common mix-ups are brown-headed cowbirds and bobolinks, both of which have some black-and-white patterning. The quickest way to avoid this: check the bill and the wing patch. The lark bunting's bill is extraordinarily thick and pale blue-gray, larger than either of those species, and the wing patch runs along the folded wing coverts in a long horizontal band rather than the bobolink's back-and-nape pattern. Female lark buntings can look like any number of streaky brown sparrows, but again, that thick pale bill and the hint of wing patch are the checkmarks that confirm the ID, and they should be the checkmarks in your drawing too.
| Feature | Lark Bunting (male) | Lark Bunting (female/winter) | Common Mix-up (Bobolink male) |
|---|---|---|---|
| Body shape | Chunky, compact | Chunky, compact | Slimmer, longer-tailed |
| Bill | Very large, pale blue-gray | Very large, pale blue-gray | Smaller, pinkish-buff |
| Wing patch | Bold white along wing coverts | Buffy-white, less bold | Pale buff on back/nape, not wing coverts |
| Main body color | Velvety black | Streaky brown and buff | Black with buff/white on back |
| Tail length | Short | Short | Longer relative to body |
If you want to go deeper on the bird's identity before or after drawing it, the pages covering what Colorado's state bird is and why the lark bunting was chosen as Colorado's state bird fill in more of the historical and ecological background. And if you're working through state bird drawings as a series, the approach for drawing the California state bird follows similar principles around capturing a bird's key silhouette and ID marks before worrying about fine detail. To draw the California state bird, focus on its defining silhouette and distinct field marks first, then add feather texture last. If you want, you can use the same step-by-step approach to learn how to draw the state bird in your own state state bird drawings. You can use the same idea to figure out what is the state bird of illinois before you start sketching.
FAQ
How can I tell if I’m drawing a lark bunting (instead of a similar black and white bird) when the wing patch looks faint in my reference photo?
Zoom in on the bill and wing shape first, even if the wing patch is unclear. The lark bunting has an unusually thick, pale blue-gray bill that looks large for its head, and its wing patch is a long horizontal band along the folded wing coverts on the male. If your reference angle hides the patch, don’t invent contrast, instead correct the bill thickness and the wing-coverts placement, then rework the patch only where you can see the band.
What should I do if my white wing patch turns gray or gets smudged while shading the black body?
Block the patch in early using clean paper control, then protect it. Leave the area untouched as you build the black with darker leads, and when you do need to blend nearby, stop at the patch edge. If you already smudged it, lift pigment with a kneaded eraser lightly, then add back crisp brightness with a white colored pencil or a white gel pen only at the end.
Should I draw the lark bunting as a breeding male or a female, and how does that change my approach?
Choose one first, then commit to the different contrast level. For a male, aim for deep black plus a bright, bold white wing patch, leaving the patch unshaded. For a female, build the body in buff and brown tones and keep the “patch” more softly lighter than surrounding feathers rather than stark white, but still keep the pale blue-gray bill as your accuracy anchor.
I’m having trouble with the feather texture. How do I add feather edges without making it look like random scribbles?
Use consistent, direction-following strokes and add texture only at overlaps. Draw thin curved edge lines where feathers overlap like scales, then stop. If you cover the entire body with edges, it becomes noisy, so prioritize the upper back and the wing area, and keep the breast denser with shading rather than outlining every feather.
What pencil grades should I use if I only have one dark pencil or I want to keep it simple?
You can still get the look with fewer tools. Use HB for the initial overall black foundation, then use your darkest pencil for the deep breast, head, and back. Keep the wing patch area unshaded until the final stages, then add the tertial highlights with the lightest tool you have (white pencil or gel pen).
How do I prevent my drawing from losing that “chunky” lark bunting silhouette?
Lock in the big shapes before adding texture. First sketch the compact body mass, then place a large head relative to the short tail, and finally confirm the bill size. If you’re unsure, measure the head-to-body proportion on your grid and avoid refining tail length too much, since an overly long tail is the most common silhouette mistake.
Can I use pen instead of pencil, and what should I change in the workflow?
Yes, but change how you handle corrections. Pen is best for the final linework and crisp accents, so do your grid transfer and all mass shading in pencil first, then ink only after you are satisfied with the black areas and the unshaded wing patch. For the bright white wing patch and tertial edges, plan on adding highlights with a white gel pen or white pencil after the ink dries.
What’s the easiest way to get the eye highlight right without over-detailing?
Place just one small white highlight dot in the upper portion of the eye, then stop. If you add extra dots or outlines, the eye can look artificial. Keep the surrounding eye area dark and let the highlight do the work, then blend the eyelid area lightly into the head shadow.