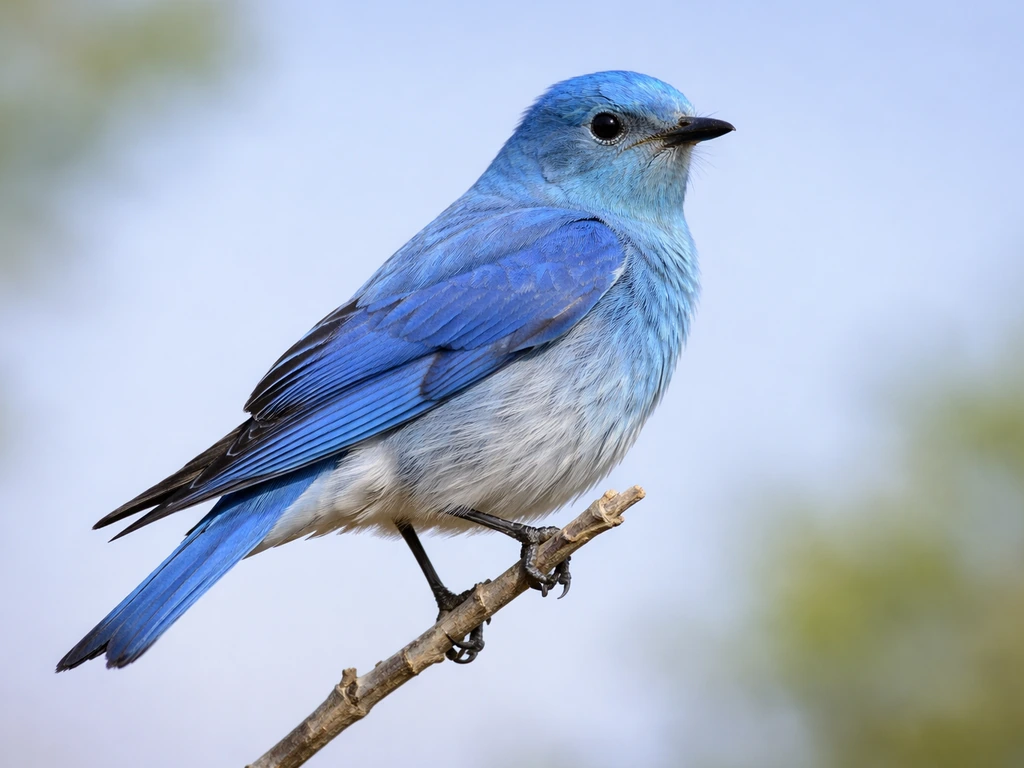
[Nevada's official state bird is the Mountain Bluebird (Sialia currucoides)](https://www.ndow.org/species/mountain-bluebird/), designated in 1967 by the Nevada State Legislature. If you're here to draw it, you're working with one of the most visually striking birds in the American West: the male is an intense sky-blue from head to tail, darker on the wings and tail, with lighter underparts and a clean white patch under the tail. That brilliant color is both the bird's most famous feature and its trickiest drawing challenge.
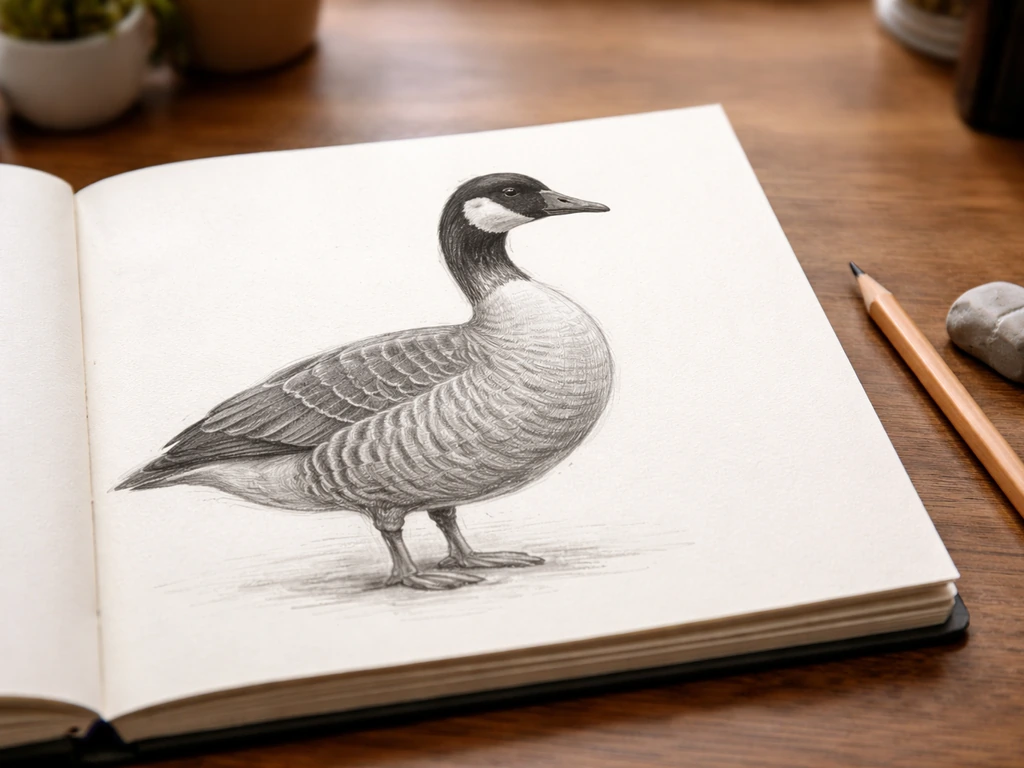
How to Draw Nevada State Bird Step by Step

Marcus Webb
13 Jun 2026
Confirm the Bird You're Drawing
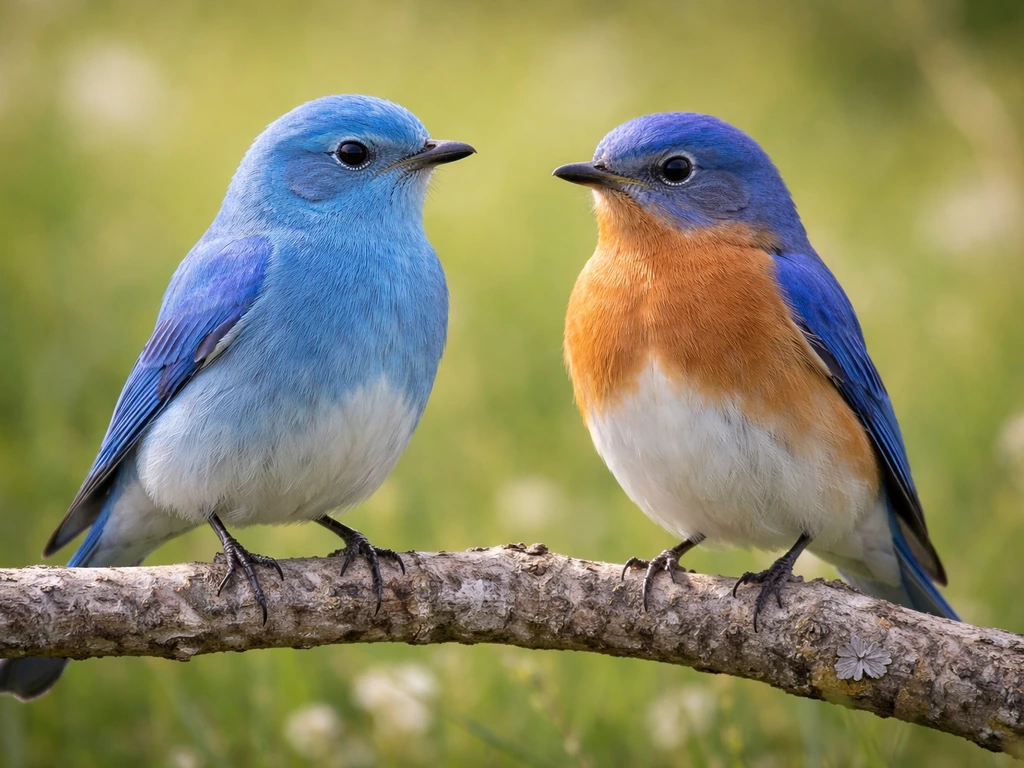
Before you put pencil to paper, lock in the right species. The Mountain Bluebird is not the same as the Eastern Bluebird (which has an orange-red breast) or the Western Bluebird (which also has rusty coloring on the chest). Sialia currucoides is all blue on top and pale below, with no orange or rust anywhere. The Nevada Department of Wildlife confirms this species as the state bird, and it's worth double-checking because a quick image search for 'bluebird' will pull up all three species mixed together. You want a pure sky-blue bird with a relatively slim build, a slightly long tail, and a gentle, rounded head. That's your subject.
The male is the visually iconic version: vivid sky-blue overall, with wings and tail that shade slightly darker, and underparts that fade toward a soft pale blue or almost white, particularly under the tail. Females and immatures are mostly gray-brown with only pale blue tinges in the wings and tail. For most drawing purposes, especially if you're illustrating Nevada's state symbol, go with the adult male. It's more recognizable and far more colorful to work with.
Gather Good References and Pick Your Materials
The single biggest upgrade you can make to any bird drawing is using multiple high-quality photo references, not just one. Cornell Lab's All About Birds photo gallery for the Mountain Bluebird is excellent: it includes perched side views, front-facing portraits, and shots that show the wing pattern and tail form clearly. Pull up at least three angles before you start: a direct side profile, a three-quarter front view, and one image showing the wings slightly spread or the bird in motion. This gives you the silhouette, the proportions, and the feather boundary lines you'll need.
For materials, here's a practical starting point depending on your medium:
| Medium | What You Need | Best For |
|---|---|---|
| Pencil / graphite | HB for construction lines, 2B–4B for shading, kneaded eraser | Beginners, sketching, value studies |
| Colored pencil | Sky blue, cobalt blue, cerulean, ultramarine, light gray, white | Layered color realism, fine feather detail |
| Watercolor | Cerulean blue, Prussian blue, paynes gray, titanium white (gouache) | Soft washes and luminous feather effects |
| Digital (tablet) | Round brush, texture brush, airbrush for blending | Easy color correction, non-destructive layering |
Whatever medium you choose, start with a light mechanical pencil or non-photo blue pencil for your construction phase. You want lines you can erase or ignore later without fighting your final rendering.
Break the Bird Down Into Basic Shapes
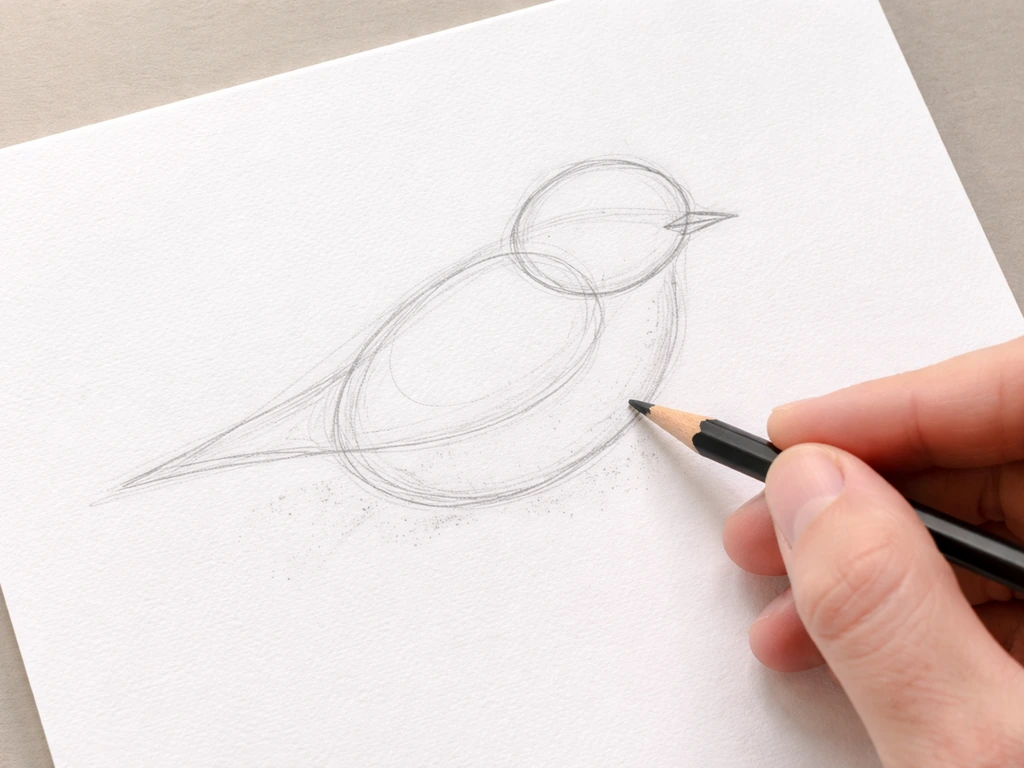
The most reliable way to get a Mountain Bluebird's proportions right is to build it from simple geometry first. Bird realism lives or dies on proportion before you ever add a single feather. Get the shapes wrong and no amount of detailed texture will save it.
Think of the Mountain Bluebird's body as two overlapping ovals: a smaller one for the head and a larger, slightly elongated one for the body. The body oval tilts slightly forward when the bird is perched. The head is roughly one-third the size of the body oval. The tail extends behind the body oval as a narrow rectangular shape that tapers slightly.
For wing and tail cues like these, Audubon Field Guide provides species-specific identification guidance for the Mountain Bluebird's silhouettes and tail geometry tail shape. The beak is small and straight, projecting from the front of the head at a gentle downward angle.
The legs are thin and long relative to the body, and the feet grip a perch with three toes forward and one back.
- Head oval: about 1/3 the width of the body oval
- Body oval: slightly elongated, tilted 10–15 degrees forward on a perch
- Tail: roughly equal in length to the body oval's long axis
- Wing length: when folded, wings reach about 2/3 down the tail
- Beak: short and fine, about 1/4 the diameter of the head
- Eye: positioned slightly above center on the head, small and dark
The Mountain Bluebird has a noticeably slim, streamlined profile compared to a robin or jay. It's not a chunky bird. Keep your body oval on the leaner side and resist the temptation to make it too round, which is the most common beginner error with bluebirds. To apply the same approach to a different subject, follow a specific guide on how to draw the Illinois state bird.
Sketch the Head, Body, Wings, and Tail Step by Step
- Draw the head oval lightly. Place it toward the upper-left of your composition space if you want a classic perched-right-facing pose.
- Add the body oval overlapping the bottom-right of the head oval by about 1/4. Tilt it slightly forward.
- Draw a center line through the head to mark the eye position (slightly above the midline) and the beak direction.
- Sketch the beak as a small wedge shape from the front of the head. It's straight, not curved like a robin's.
- Add a small dark circle for the eye just above the center line, with a faint highlight dot.
- Outline the back of the bird from the top of the body oval, curving into the tail. The back is relatively flat on a perched Mountain Bluebird.
- Draw the folded wing on the side of the body: it starts at the shoulder (where head meets body) and ends about 2/3 of the way down the tail. The wing edge is slightly scalloped where the primary feathers stack.
- Add the tail as two parallel lines extending from the body, with a slightly notched or squared-off tip. Mountain Bluebirds have a moderately long tail.
- Sketch the legs descending from the lower body oval. They're thin but don't taper to nothing; add small feet with a clear grip on whatever perch you've drawn.
- Check proportions against your reference before committing. Adjust the shapes now, not later.
Add Feather Detail, Texture, and Accurate Markings
Once you're happy with the construction, it's time to build form. Feathers don't all lie flat in the same direction, and understanding that is what separates a flat, stiff bird drawing from one that looks alive. On the head, feathers radiate from the eye and crown outward. On the body, they layer from the shoulder down toward the tail, like overlapping scales. On the wing, you have distinct groups: the scapulars (shoulder feathers), the secondary feathers, and the primary feathers at the wingtip, which are the longest and most visible.
For the Mountain Bluebird specifically, focus on these key marking boundaries:
- The transition from the darker blue wing to the slightly lighter blue back and breast: this is a subtle gradient, not a hard line
- The underpart fade: the belly transitions from pale sky-blue to almost white under the tail, keep this gradual
- The wing feather edges: each primary and secondary feather has a slightly darker edge that catches shadow, creating the scalloped look
- The throat: clean sky-blue, continuous with the head color, no contrasting patch like you'd see on Eastern or Western Bluebirds
- The eye ring: Mountain Bluebirds have a faint pale eye ring, very subtle but worth including for accuracy
Use short, directional strokes that follow the growth direction of each feather group. On the breast, strokes go slightly downward and outward from the center. On the back, they flow back toward the tail. On the wing, they follow the length of each feather. Vary your pressure: lighter strokes for the bright blue areas, heavier pressure in the shadow zones under the wing and belly.
Coloring and Shading to Match the Real Bird
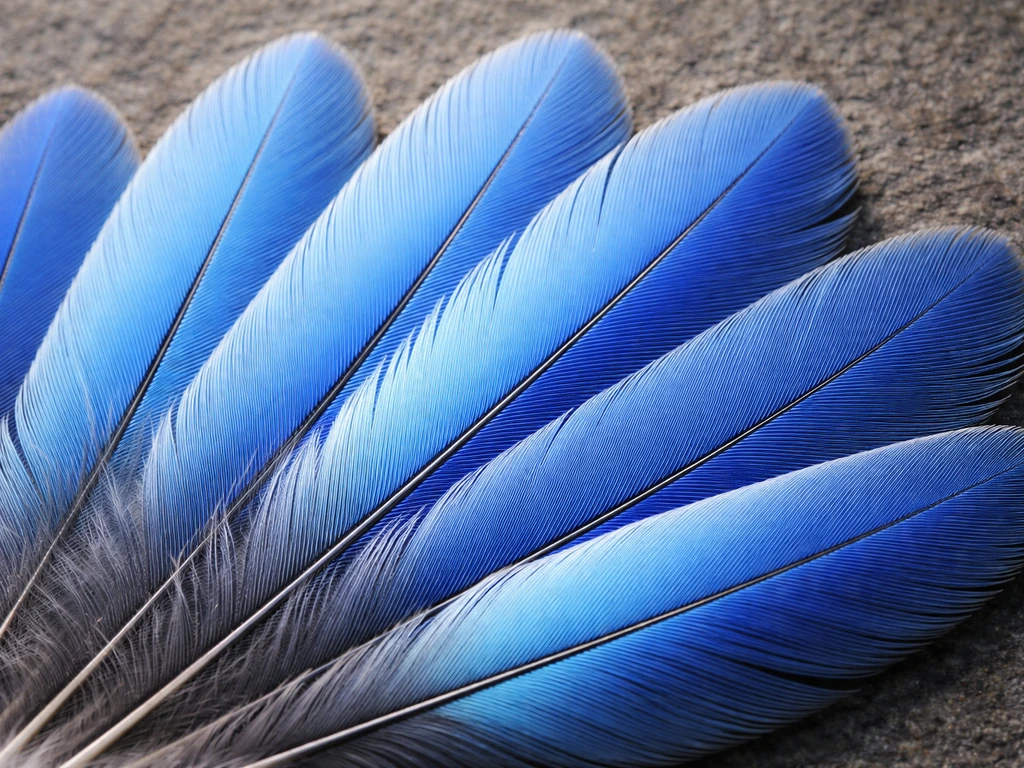
The adult male Mountain Bluebird's color is best described as sky-blue or powder-blue, not navy, not electric blue, and definitely not turquoise. It's a medium-value, slightly cool blue that reads as almost luminous in sunlight. The wings and tail are a shade or two darker, leaning toward a deeper cerulean or cobalt. The underparts are a washed-out, very pale blue that grades to white under the tail. Getting this gradient right is the defining challenge of coloring this bird.
Here's how to approach it by medium:
Colored Pencil
Start with a base layer of cerulean blue across the entire bird except the white undertail. Layer sky blue over that on the back and head for vibrancy. Use cobalt blue or ultramarine on the wings and tail for the darker tone. On the underparts, reduce pressure progressively as you move down toward the belly, and leave the undertail area as paper white or add a very light cool gray. Burnish with a white pencil over the breast and belly to blend the pale areas smoothly.
Watercolor
Lay a wet-on-wet wash of cerulean blue across the body, letting it bloom naturally. While still wet, drop in a mix of Prussian blue and a touch of Payne's gray at the wingtips and tail for the darker tones. Let it dry completely, then add a second layer on the wing feathers for definition. Use a barely damp brush with white gouache for the undertail highlight. Shadows under the wing fold can be rendered with a dilute ultramarine.
Digital
Set your base color to roughly HSB 205, 60%, 75% for the main body. Darken to HSB 215, 75%, 55% for wings and tail. Use an airbrush or soft round brush to fade the belly toward near-white. Add feather edge detail with a texture brush at a darker value, then bring in highlights on the crown and back with a lighter, slightly warmer blue (around HSB 195, 40%, 90%) to simulate the iridescent sheen male Mountain Bluebirds show in direct light.
Finishing Touches and Common Mistakes to Avoid
Once your color or shading is in, a few finishing decisions can dramatically lift the drawing. Add a small, bright specular highlight to the eye: a tiny white dot in the upper-left of the iris. This single mark makes the bird look alive. On the beak, add a very subtle shadow under the upper mandible where it overlaps the lower. On the wing, sharpen the leading edge lines for the primary feathers while keeping the body feathers softer and more blended. If you're working in pencil or colored pencil, vary your line weight: thicker lines at the wingtip edges and feet, finer lines on the face and breast.
For backgrounds, a simple suggestion of a fence post or bare branch grounds the bird without competing with it. A pale gradient sky behind the bird reinforces the blue palette. Avoid busy backgrounds when you're learning; let the bird carry the composition.
Here are the most common mistakes to watch out for:
- Making the body too round or chubby: the Mountain Bluebird is slim and somewhat elongated, not robin-shaped
- Using the wrong blue: navy, royal blue, or teal all read as wrong; stick to sky-blue and cerulean as your anchors
- Forgetting the undertail white: this is a key field mark that distinguishes the Mountain Bluebird; leaving the belly uniformly blue is inaccurate
- Adding an orange or rust breast: that's the Eastern or Western Bluebird; the Mountain Bluebird male has none
- Drawing feathers as individual scales over the whole body: only the wing and tail need clearly defined individual feathers; the head and breast should be smooth and soft-edged
- Skipping the proportion check before adding detail: fix the silhouette first, always
- Making the eye too large: the Mountain Bluebird has a proportionally small, neat eye, not an owl-sized one
If you enjoy drawing state birds, the Mountain Bluebird's all-blue palette makes it a great companion study alongside other visually distinct species. If you're also curious about official symbols beyond Nevada, you can look up why is the Nene Hawaii's state bird for another fun state-bird reference point state birds. If you want to try a different state bird next, here’s a guide specifically for how to draw Hawaii’s state bird how to draw Hawaii state bird.
For Illinois, you can apply the same process to the state bird by studying its silhouette, colors, and feather pattern from clear references Illinois state bird. If you want to try a different subject next, you can also look up what the state bird for Hawaii is what is the state bird for hawaii. To find the correct species quickly, search for the what is the state bird for hawaii result from a reliable state source and match it to your references.
The process for drawing birds like the Cardinal (Ohio's state bird) or the Scissor-tailed Flycatcher (Oklahoma's state bird) follows the same construction logic: shapes first, proportions second, detail last. If you're ready for a challenge next, you can use the same construction approach to learn how to draw Oklahoma's state bird. You can use the same shapes-first approach to learn how to draw Ohio's state bird. You can also use the same shapes-first approach to learn how to draw the Ohio state bird how to draw Ohio's state bird.
Getting comfortable with the Mountain Bluebird's relatively simple color scheme is genuinely good practice before moving on to birds with more complex patterning.
The Mountain Bluebird is one of those birds where accuracy in color and silhouette does most of the work. Nail those two things, check your proportions against a good reference, and the finished drawing will be immediately recognizable as blank" rel="noopener noreferrer">Nevada's state bird. If you want a more detailed walkthrough specific to the Arizona state bird, use this guide on how to draw arizona state bird.
FAQ
How can I tell I’m drawing the Mountain Bluebird (Nevada) and not the other bluebirds?
If you want your drawing to clearly read as Nevada’s state bird, focus on two things that distinguish the Mountain Bluebird male: a pure blue head-to-tail with no orange or rusty breast tones, and a pale under-tail area that is either paper white or only lightly shaded. Keep the body slim and the tail slightly longer than it is wide, so the silhouette matches the correct species rather than a chunkier bluebird look.
Can I draw a female or juvenile Mountain Bluebird instead of the adult male?
Yes, but the result will look different. For the adult male, the color is the main “signature,” with sky-blue, deeper cerulean or cobalt on wings and tail, and a strong fade to near-white under the tail. If you draw the female or juvenile, plan for a mostly gray-brown body with only muted blue tinges, so your blue layers should be lighter and less saturated.
What’s the best way to draw feathers without over-detailing and losing the blue gradient?
Use your construction lines to lock in proportion, then treat feather rendering as shape control. A quick method is to draw the feather-group boundaries first (shoulder line, wing primary area, tail base) and then add short strokes only inside those regions. Avoid making every feather a separate outline, especially on the breast, since the bird’s smooth color gradient needs blended transitions.
My beak looks too big or too curved. How should it look for this bird?
The beak is typically small and fairly straight, with a slight downward angle where it meets the head. A common fix if your beak looks wrong is to adjust the head oval first, then reattach the beak at the front of the head (not centered on the face) and keep it thin so it does not widen into a “sparrow beak” shape.
How do I prevent the underbelly from getting muddy when painting the bird blue?
When using watercolor or wet media, the gradient is easiest if you protect the undertail highlight and build shadows only at boundaries. Keep the underparts lighter from the start, then add darker tones mainly at the wingtips and the wing fold, letting the midtones blend while wet. If you lift or scrub color in pale areas, you can get muddy edges, so work with very light layers and fewer reworks.
Where should the darkest blues go, and where should I keep it light?
Make the darkest areas narrow and directional. For the wing and tail, place deeper cobalt or ultramarine at the feather ends and along the wingtip region, then blend outward with lighter sky-blue so you still see the plume-like gradient. If you spread the dark tone too broadly across the chest or underparts, the drawing will stop looking luminous.
What’s the simplest workflow for coloring the bird with colored pencil or graphite?
If you’re in colored pencil or pencil, pick one value strategy: either build from light to dark or keep dark accents for the last pass. A practical approach is light base color first, then darker feather-group edges on the wing and tail, then a final gentle burnish with light tones on the breast. This preserves the smooth fade that makes the male’s coloring recognizable.
How can I make the eye look realistic without making the face too dark?
A tiny eye highlight helps, but the best “alive” effect comes from contrast placement. Keep the iris dark enough, add the small white specular spot, and keep eyelid and facial shadows minimal so the face stays clean. If you shade too much around the eye, the bird can look heavy or blurry, even with a highlight.
My silhouette looks like a generic bird. How do I fix the proportions quickly?
Start by matching the head-to-body ratio (head about one-third the body oval), then place the tail so it extends behind the body as a narrow shape that tapers slightly. If your bird looks wrong in silhouette, it is usually tail width or body oval roundness. Reduce roundness in the body and lengthen the tail slightly to get that streamlined bluebird profile.
What kind of background should I use so it doesn’t distract from the state bird?
Yes, but keep it simple and low-contrast so the blue stands out. A pale sky gradient or a single bare branch works well, and a fence post can ground the perch. Avoid busy foliage or patterned skies, because they steal attention from the main challenge (accurate color gradient and feather-group edges).
I’m using only one photo reference. Is that a problem, and what should I change if my pose differs?
Use at least three reference angles, but also match the posture. If your photo reference shows the bird hopping or wings spread, adjust the wing feather-group shapes and the body tilt accordingly. If you only use one perched side photo and then draw a front view, you can end up with wings and tail that no longer align with the bird’s anatomy.
Next Articles
How to Draw Hawaii State Bird: Step-by-Step Guide
Learn how to draw Hawaii state bird with a step-by-step sketch, key features, shading tips, and common mistakes
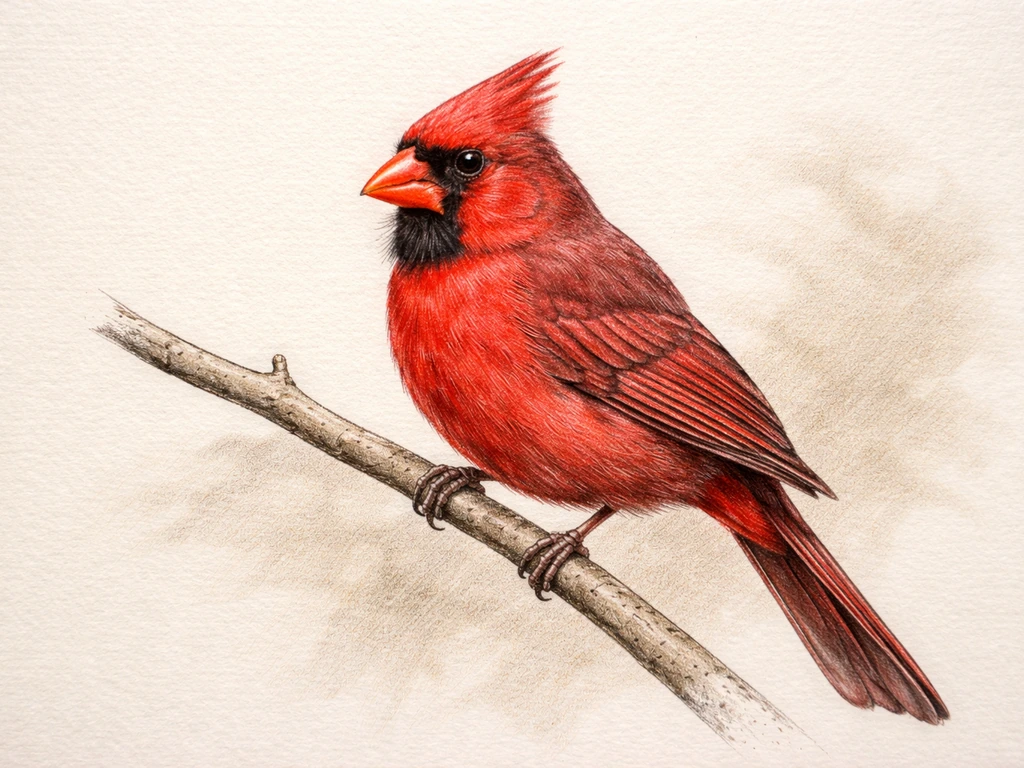
How to Draw Illinois State Bird Northern Cardinal Step by Step
Step-by-step guide to drawing the Illinois state bird, the Northern Cardinal, with accurate beak, crest, wings, and shad
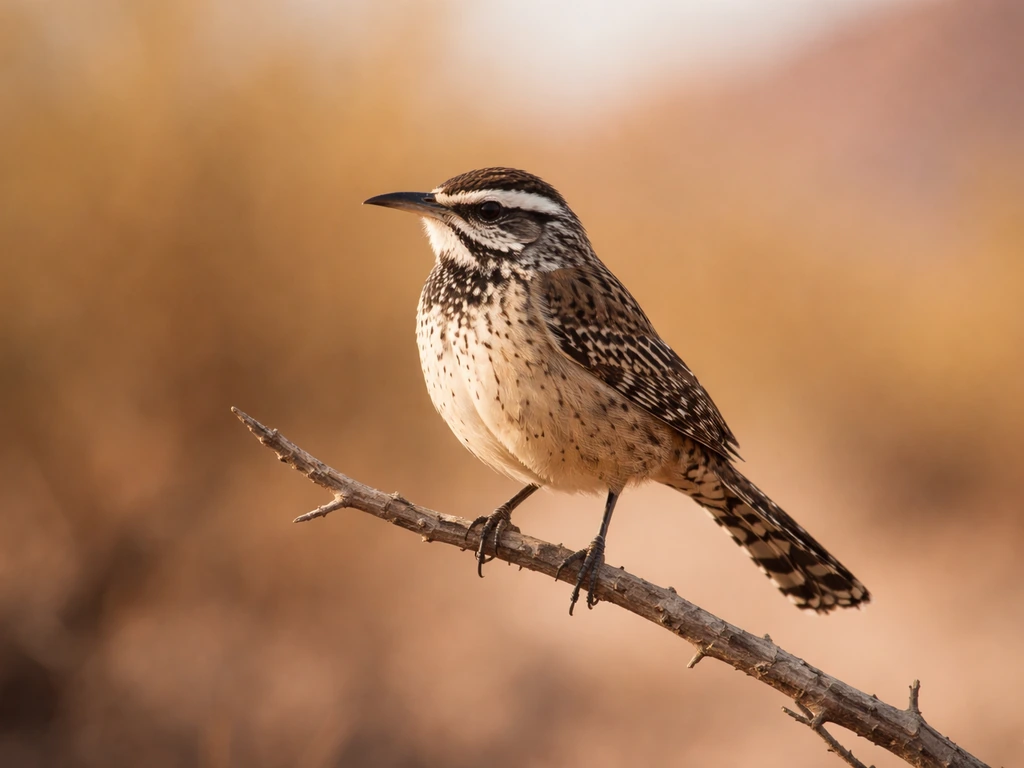
How to Draw Arizona State Bird Cactus Wren Step by Step
Step-by-step guide to draw the Arizona cactus wren, with proportions, silhouette, key markings, and easy shading tips.