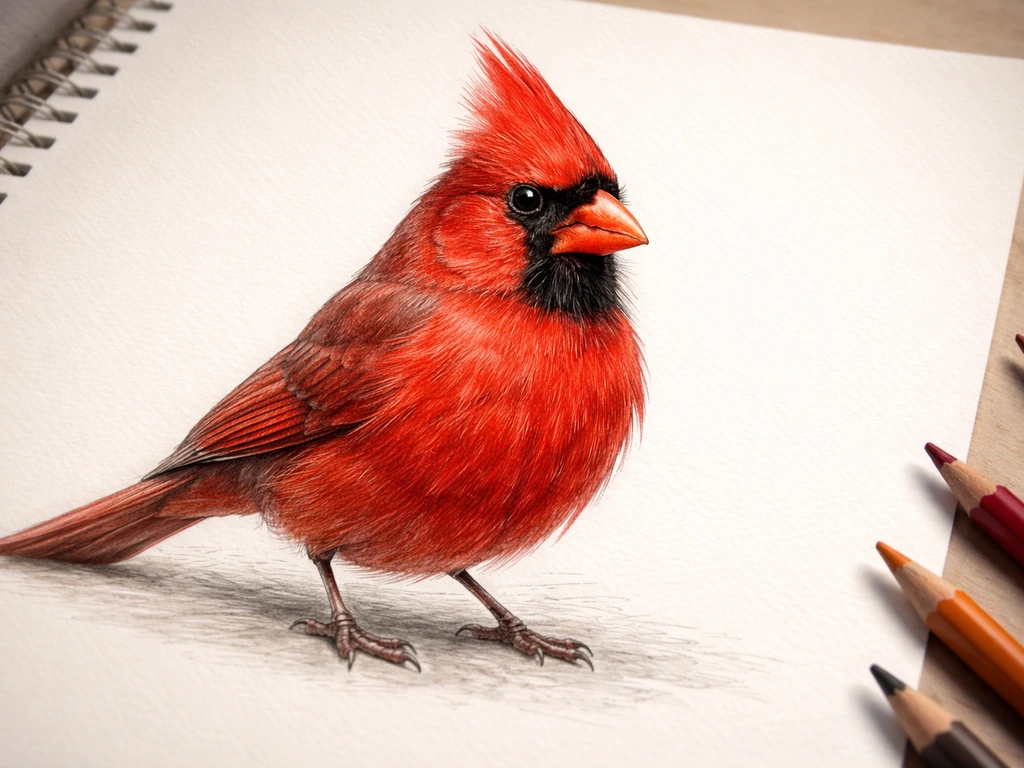
Ohio's official state bird is the Northern Cardinal (Cardinalis cardinalis), designated by Ohio Revised Code § 5.03. The male is one of the most recognizable birds in North America: brilliant all-over red, a bold black mask around the bill and eyes, a prominent pointed crest on top of the head, and a short, thick, conical orange-red bill. Those four features are exactly what you need to nail to make your drawing instantly recognizable as an Ohio cardinal.
How to Draw Ohio State Bird: Northern Cardinal Guide

Marcus Webb
15 Jun 2026
What Makes the Northern Cardinal Distinctive (and Why It Matters for Drawing)
Before you pick up a pencil, understand what separates a cardinal from every other red bird. The male is about 8 to 9 inches long from bill tip to tail tip. His entire body is bright red except for the black mask that starts at the base of the bill, wraps around the chin and eyes, and fades into the red of the head.
The crest is not a smooth dome, it's a sharp, swept-back spike of feathers that can raise and lower. The bill is unusually thick and rounded for a songbird, built for cracking seeds. Get those four things right, saturated red body, sharp crest, chunky conical bill, defined black mask, and your drawing will read as a cardinal immediately.
The female cardinal also has a crest and the same bill shape, but she is warm buff-brown with reddish tinges on the crest, wings, and tail. This guide focuses on the male, since his high-contrast coloring is both the most iconic and the most instructive for learning form.
If you've also looked at drawing guides for similar birds like the Oklahoma state bird (also the Northern Cardinal) or the Illinois state bird (Northern Cardinal as well), you'll find the species is the same and the drawing steps transfer directly. Ohio just gives you one more reason to get comfortable with this species. If you're also working on a different state's bird, this approach should still help you plan proportions first.
Gather Your References and Set Up Your Tools

A good reference photo makes an enormous difference. Search for a male Northern Cardinal in a side-view perched pose, this angle shows the crest, mask, bill profile, and wing shape all at once. Cornell Lab's All About Birds has free, high-quality photos. Print one out or have it open on a second screen while you work. You want to see the exact boundary where the black mask meets the red, the angle of the crest relative to the crown, and how the wing folds against the body.
For tools, here's what works well at each level:
| Approach | Tools Needed | Best For |
|---|---|---|
| Pencil sketch | HB pencil, kneaded eraser, smooth drawing paper | Beginners learning proportions |
| Colored pencil | HB for sketch, cardinal red + crimson + black + orange + warm grey colored pencils, white pencil for highlights | Realistic color rendering |
| Pen and ink | HB sketch pencil, fine-liner pens (0.3mm and 0.5mm) | Clean graphic style, strong contrast |
| Marker | Light grey marker for blocking, red and black markers, white gel pen | Bold, quick results |
Start with smooth or medium-tooth paper. Heavily textured paper fights you when you try to draw fine feather edges. Have a sharpener nearby if you're using colored pencils, a dull tip kills feather definition. Keep your reference photo at the same scale as your drawing if possible.
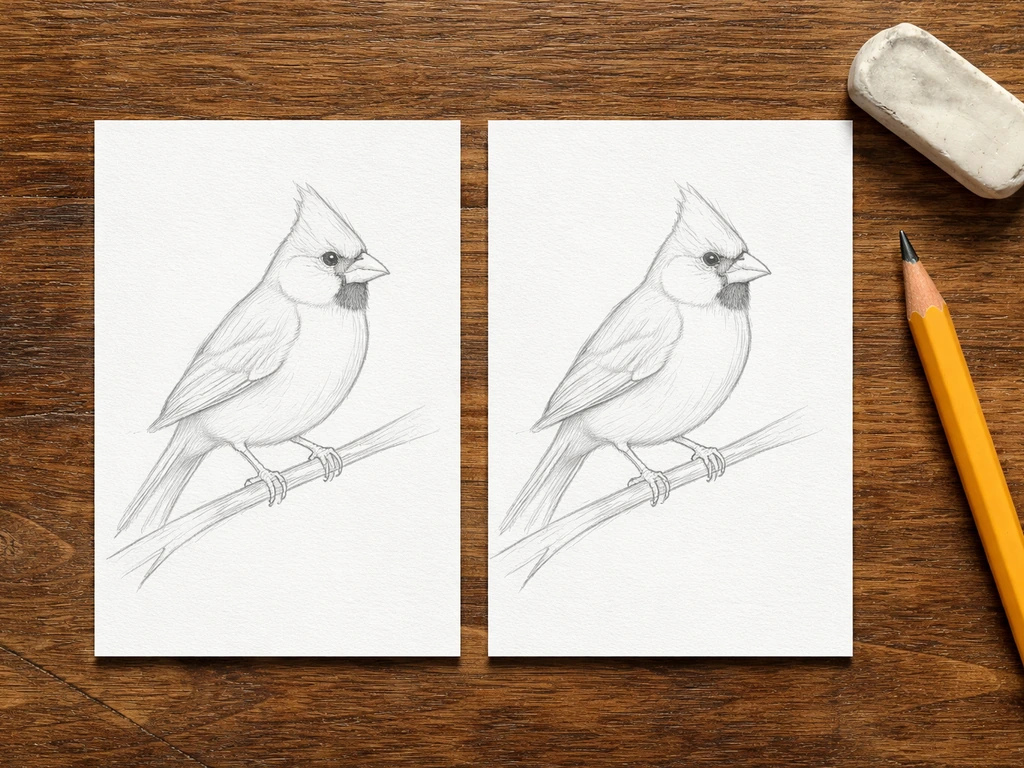
Block In the Sketch: Proportions, Posture, and Guide Lines
Use an HB pencil and draw lightly, these lines get erased or buried under final work. The goal here is locking in the right proportions before committing to anything. To draw the how to draw Illinois state bird correctly, focus on the same kind of landmark approach: proportions first, then the defining shape details.
- Draw the head first as a rough circle. This circle becomes your measuring unit for everything else. The cardinal's body (excluding tail) is roughly two head-lengths long.
- Place the body as an oval, slightly larger than the head and tilted at a gentle downward angle toward the tail end. The body oval should overlap the bottom of the head circle.
- Sketch a center line through the head circle from back to front. This line anchors where the eye and bill will sit.
- Mark a horizontal line across the middle of the head circle for eye placement — the eye sits roughly at the midpoint of the head, slightly forward of center.
- Rough in the tail as a rectangular wedge extending from the back of the body oval. The tail is about one head-length long on a perched bird.
- Lightly sketch the leg position — a perched cardinal grips a branch, so the feet anchor below the center of the body mass.
- Indicate the crest as a rough triangular spike above the top of the head circle, leaning slightly backward.
At this stage everything looks like basic shapes, and that's exactly right. Don't add any feather detail yet. Check your proportions against the reference photo by measuring the head-to-body ratio visually. The most common error here is drawing the body too small relative to the head, which makes the bird look cartoonish.
Draw the Face and Key Landmarks: Crest, Beak, Eye, and Mask
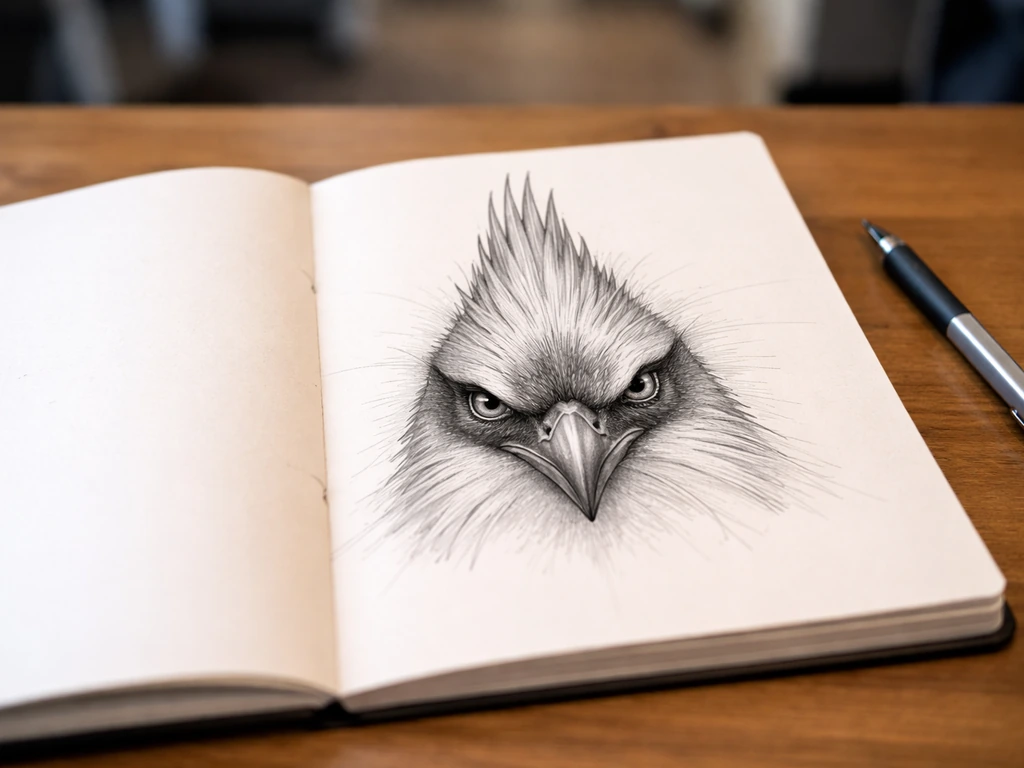
The face is the heart of the cardinal drawing. Getting these four elements right is what separates a convincing cardinal from a generic red bird.
The Crest
The crest is not a bump, it's a sharp cluster of elongated feathers that taper to a point. Refine your rough triangle into a swept-back spike, slightly curved at the tip rather than perfectly straight. The base of the crest blends into the crown; don't draw a hard line where it starts. Keep the crest flowing naturally backward, not straight up.
The Bill
This is the most commonly botched feature. The cardinal's bill is short, deep, and conical, almost triangular in profile. It is NOT a thin, pointed songbird beak. Draw it as two curved triangular shapes meeting at a point, with the upper mandible slightly larger and more curved than the lower. The bill attaches squarely to the center line of the face, right at the edge of the black mask.
The Eye
The eye is a small dark circle with a faint lighter ring around it. Place it on your horizontal guide line, about one bill-length back from the base of the bill. Don't make the eye too large, bird eyes are proportionally smaller than people expect. A tiny highlight dot in the upper quadrant of the eye makes it look alive.
The Black Mask
The mask is the cardinal's most dramatic feature and the one artists most often get wrong. It starts at the base of the bill, wraps around the chin and throat, and extends up through the lore (the area between the bill base and eye) and around the eye itself. The mask does NOT cover the whole face or extend onto the crown, it stays in a roughly triangular region centered on the bill base and eye. Sketch this mask boundary lightly before committing to it, because the contrast between the black mask and red head is what gives the face its punch.
Add Wings, Tail, and Feather Structure: Form Before Texture
Now build out the wing and tail as solid shapes before you add any feather lines. Feather detail added to a poorly proportioned silhouette won't save the drawing.
On a perched cardinal, the folded wing covers most of the back and flank. Draw it as a layered wedge shape that narrows toward the tail. Think of the wing in three zones from top to bottom: the scapulars (shoulder feathers at the top), the secondary feathers in the middle, and the primary feathers (the longest flight feathers, called remiges) that extend toward the tail tip. You don't need to know every technical term to draw them, just recognize there are three overlapping layers, each set of feathers slightly longer than the one above.
A key rule for feather overlap: feathers always overlap from the tail forward and from the center outward. This means the primaries (at the bottom/back of the wing) tuck under the secondaries above them, which in turn tuck under the scapulars. Ornithology Education explains that contour feathers help define wing, tail, and body shape, and it describes how primaries and secondaries relate to that structure primaries (at the bottom/back of the wing) tuck under the secondaries above them. Draw the shapes of these groups first, then add individual feather edge lines inside each group. Keep the feather lines gently curved, following the rounded form of the wing, not straight ruled lines.
The tail is a fan shape made of about six visible feathers on each side. Don't draw the tail as a single solid wedge, show a few individual feather tips at the end with slight gaps between them. On the cardinal, the tail is also a rich red (not black), so don't default to darkening it heavily.
Clean-Up, Shading, and Color: Making It Look Like a Cardinal
Once your structure is solid, refine your pencil lines and then move into color or ink. Here's how to handle the cardinal's distinctive coloring.
Outlining and Clean-Up
Erase unnecessary construction lines. If you're doing pen and ink, go over your refined pencil lines with a fine-liner. Use a slightly heavier line weight on the mask boundary and the bill edge to give them more presence. Use lighter lines for interior feather texture.
Applying Color (Colored Pencil Method)
- Start with a bright cardinal red pencil over the entire body, head, and tail, leaving the mask area bare. Apply with light, directional strokes following the feather direction.
- Layer a deeper crimson or scarlet over the body, concentrating it on the shaded underside and where the wing meets the body. This builds depth without making the bird look flat.
- Use a warm orange-red on the bill, keeping strokes following the length of the bill.
- Fill the mask area with a dark grey or black, pressing firmly. Blend the mask edges where it meets the red using a light warm grey pencil — this softens the boundary naturally rather than leaving a harsh line.
- Add warm grey to the shadowed underside of the wing and between individual feather groups to suggest depth. Use light, short strokes that follow feather direction.
- Use a white or cream pencil to restore highlights on the top of the head, along the upper bill edge, and on the breast where the light hits. A sharp point is essential here.
- Add tiny dark marks at the tips of individual wing feathers and along the feather edges to separate the groups and add texture.
Shading for Pen and Ink
Use hatching lines that follow feather direction to build tone. Crosshatch the shaded underside of the body. Leave the upper breast and crown largely clean to suggest the brightest red. Fill the mask solid black. A few curved hatching lines inside each wing feather group give texture without chaos.
Common Mistakes and Quick Fixes
| Mistake | Why It Happens | Quick Fix |
|---|---|---|
| Bill too thin and pointed | Drawing a generic songbird beak instead of a cardinal's seed-cracker | Widen and deepen the bill at the base — it should look almost triangular in profile |
| Crest too round or too vertical | Treating it like a bump rather than swept feathers | Redraw as a backward-leaning spike with a slightly curved tip |
| Mask covers too much of the face | Overextending the black area onto the crown or cheeks | Limit the mask to the region around the bill base, chin, and eye — check your reference |
| Trying to draw every feather individually | Instinct to show detail everywhere at once | Block feather groups as shapes first, then add a few edge lines per group — suggestion beats inventory |
| Tail looks like a solid dark wedge | Defaulting to heavy shading in the tail region | Keep the tail red and show individual feather tips with small gaps; use warm grey for shadow, not black |
| Flat, washed-out red coloring | Under-layering and not building value contrast | Layer crimson over the base red in shadow areas; add a darker tone along the wing edge and body underside |
| Body too small relative to the head | Scaling the body oval without measuring against the head | Body should be roughly two head-lengths long — remeasure before adding detail |
Practice Next Steps and Improvement Drills
One finished drawing is a start, not a destination. Here's how to build real competence with the cardinal specifically.
- Do five quick gesture sketches (5 minutes each) using different reference photos — cardinal facing left, facing right, slightly three-quarter view. The goal is training your hand to lock in the crest-bill-mask relationship from memory.
- Practice just the bill and mask in isolation. Fill a page with cardinal head close-ups. This is where most cardinal drawings succeed or fail, so isolating the face accelerates improvement faster than drawing the full bird repeatedly.
- Try a female cardinal once you're comfortable with the male. Same structure, different color distribution — it forces you to think about form rather than relying on the bold red to carry the drawing.
- Work from a printed photo rather than a screen when possible. Screens make colors look more saturated than your pencils can match, which leads to frustration. A printed photo gives you a realistic target.
- Compare your finished cardinal against other crested birds — the blue jay and tufted titmouse are the most common confusion species. Notice how the cardinal's bill is dramatically thicker than either. Drawing the comparison teaches you what makes the cardinal's bill unique.
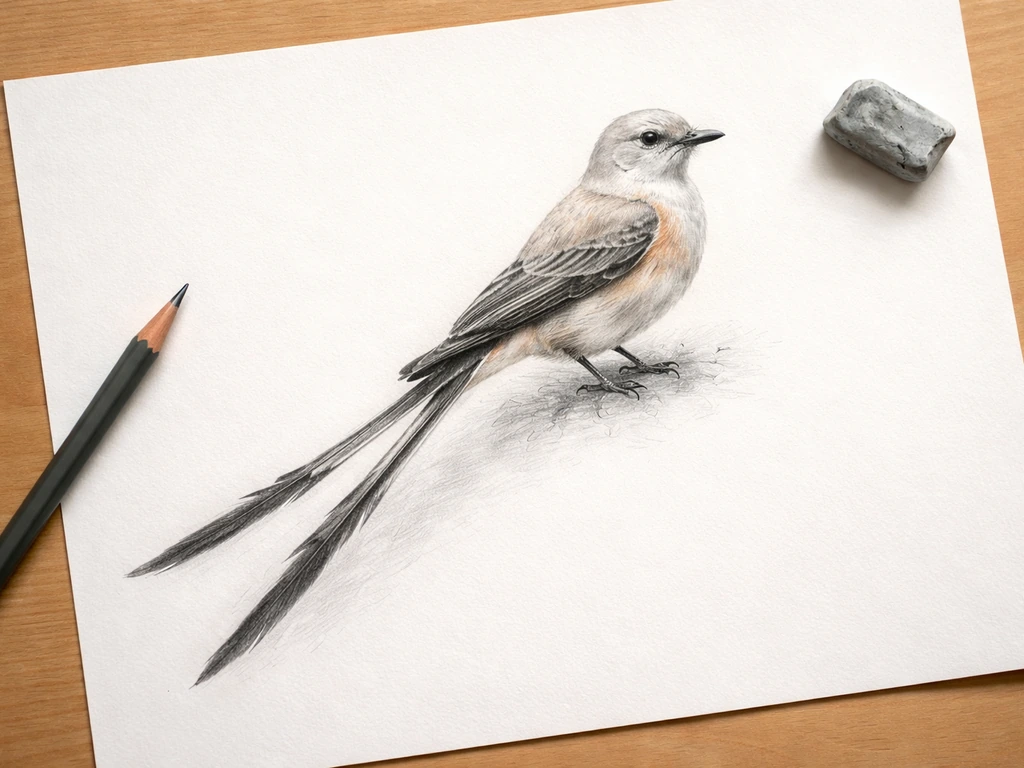
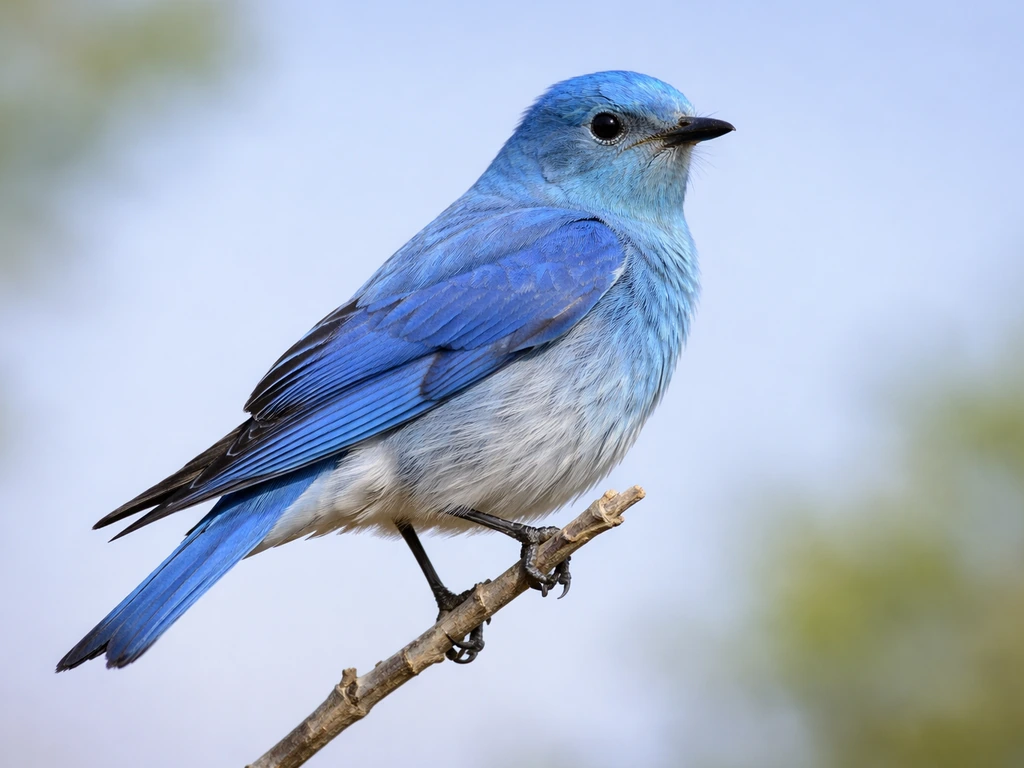
- If you're also working on the Nevada state bird (mountain bluebird) or the Arizona state bird (cactus wren), practice those alongside the cardinal to sharpen your sense of how differently bird proportions vary between species.
- After your third or fourth full drawing, try one from memory without reference. The mistakes you make are your personal study list — go back to the reference and target exactly those problem areas.
The Northern Cardinal rewards careful observation more than artistic talent. Every detail that makes it Ohio's official state bird, the saturated red, the proud crest, the bold mask, the powerful seed-cracking bill, is also what makes it one of the most satisfying birds to get right on paper. If you want another state's bird, check out how to draw the Hawaii state bird next Ohio's official state bird.
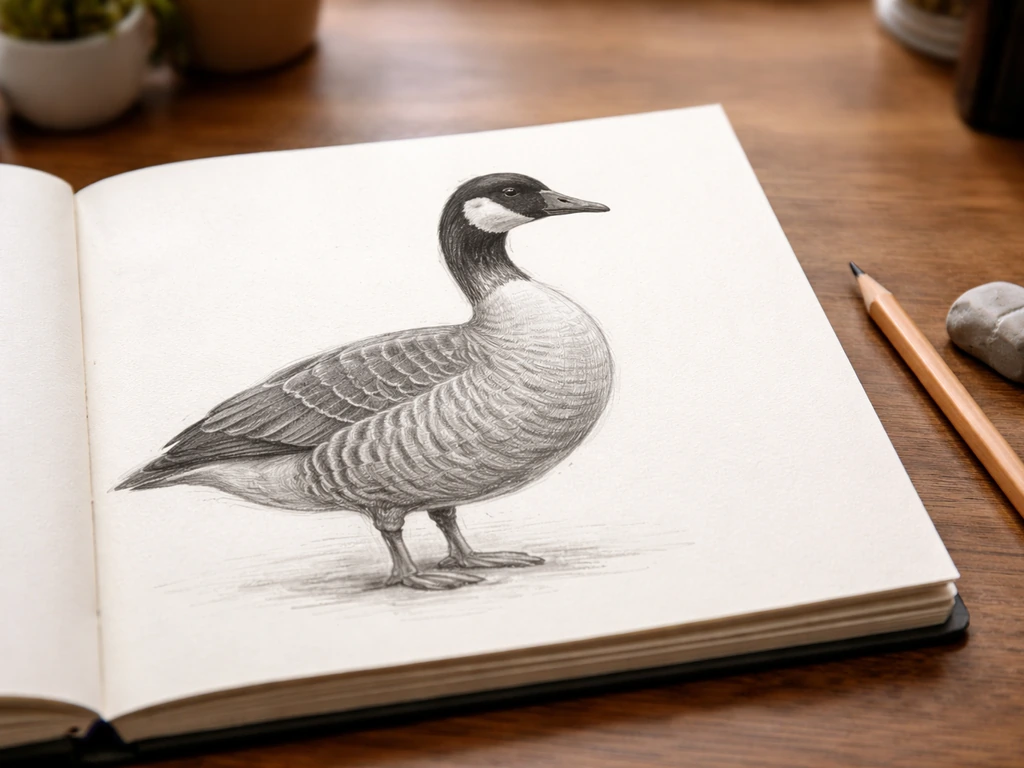
The Northern Cardinal is also the state bird in Hawaii, which makes it a fun and meaningful subject to draw. To answer what is the state bird for hawaii, look at the Nene (Hawaiian goose), which is Hawaii's official state bird Northern Cardinal is also the state bird in Hawaii. Hawaii's state bird is the Nene (Hawaiian goose), and it is an important native species. Keep your reference photo close, build from big shapes to small details, and let the color layering do the heavy lifting for realism.
To draw the Illinois state bird accurately, use the same process and focus on its distinctive shape and markings how to draw illinois state bird. If you are curious, the Nene is Hawaii’s state bird because it is strongly tied to the islands’ native wildlife.
FAQ
How can I draw a Northern Cardinal if my reference photo is not in profile (for example, it is facing the camera)?
Switch from “triangle shapes in side view” to an “angle-to-axis” approach. Draw an oval head, place the eye first, then wrap the black mask around the bill and eye following the face’s curvature. The crest should still sweep back from the crown, but it will look wider when viewed head-on, so keep the crest tip pointed and the base blending smoothly into the head.
What’s the fastest way to check whether my cardinal proportions will look right before I start adding detail?
Do a one-minute silhouette test. With light construction lines, confirm the head-to-body relationship (body not too small) and that the bill sits at the center of the face and reaches the right distance to the eye. If you can’t identify the crest spike and the chunky conical bill in the outline, fix those shapes first, not the feather lines.
I keep drawing the black mask too large. Where should it stop?
Limit the mask to the bill base area up through the lore and around the eye, but avoid extending it onto the crown. Think of it as a centered triangular region, with its widest point near the eye and the top edge staying below the crest line. Lightly sketch the boundary, then decide whether it needs shrinking or tightening rather than redoing it with darker marks.
How should I draw the crest if the feathers look messy or ruffled in my photo?
Keep the crest as one sharp, tapered cluster. Even if the feathers look separated, they still form a single spike with elongated tips. Start with a swept-back wedge shape, then add only a few internal feather edges, leaving small gaps so the crest reads as structure rather than solid fuzz.
What do I do if my bill looks like a thin bird beak instead of a cardinal bill?
Rebuild it as thickness first, shape second. Draw the bill as two curved triangular masses that meet at a point, then emphasize that the upper mandible is slightly larger and the overall profile is deep and short. If you have colored pencils or markers, keep the bill a solid warm tone with minimal fine linework, thin linework often makes it look too delicate.
How can I shade the body red without making it look like it is turning orange or brown?
Leave more of the upper breast and crown unshaded and control saturation with layered color instead of heavy darkening. Use hatching that follows feather form, keep shadows on the underside, and reserve darker value mainly for the mask, wing depth, and underside transitions. If your red is turning muddy, lighten by adding more midtone red over the top rather than adding black.
For pen and ink, what’s the best way to handle the feather texture without over-detailing?
Use line weight strategy. Go heavier only on the mask boundary and bill edge, keep the rest mostly light and suggestive. For interior wing texture, add a few curved hatching lines within each feather group, not individual feather outlines all over the wing. Stop when the wing reads as layered wedges, even if you have not drawn every feather edge.
How do I draw the tail correctly if my bird’s tail is partly hidden by the wing?
Still place the tail as a fan with visible tips. Draw the outer feather tips that peek out, and show gaps between them. Even if the wing covers most of the back, the tail should remain rich red, so avoid defaulting to dark outlines, use only subtle darkening where feathers overlap into shadow.
What common mistake makes a cardinal look like a different red bird even if the colors are right?
The silhouette. Many artists match red and forget the “system” of features: sharp crest spike, thick conical seed-cracking bill, and the defined black mask region with correct boundaries. If those three are correct, smaller details like feather line style matter less.
Can I draw the female cardinal using the same method, and what should I change?
Yes, the structure method is the same, but treat the colors and contrast differently. The female is warm buff-brown with reddish tinges, so reduce how “solid” you make the mask and shift your emphasis to crest and bill shape rather than relying on extreme black-red contrast.
How do I choose the right paper and media if I want a realistic result with colored pencils or watercolor?
For colored pencil, medium-tooth paper helps feather edges stay crisp, and a sharp tip matters more than the brand. For watercolor, plan for less control of fine feather edges, so simplify feather linework and focus on shape and tone gradients, then reinforce the mask and bill with darker color after the first wash dries.
Next Articles
How to Draw Oklahoma State Bird Step by Step
Draw Oklahoma’s state bird with traits-first steps, grids and shading tips, plus likeness and common mistakes.
How to Draw Nevada State Bird Step by Step
Step by step guide to drawing Nevada’s state bird accurately, with feature tips, transfers, and realistic shading
How to Draw Hawaii State Bird: Step-by-Step Guide
Learn how to draw Hawaii state bird with a step-by-step sketch, key features, shading tips, and common mistakes